Skip to content

Got your new pump but not sure where the hoses go? Don’t worry. Follow this simple guide to get your pump mounted and running safely on your excavator.
1. Connecting the Hydraulic Hoses
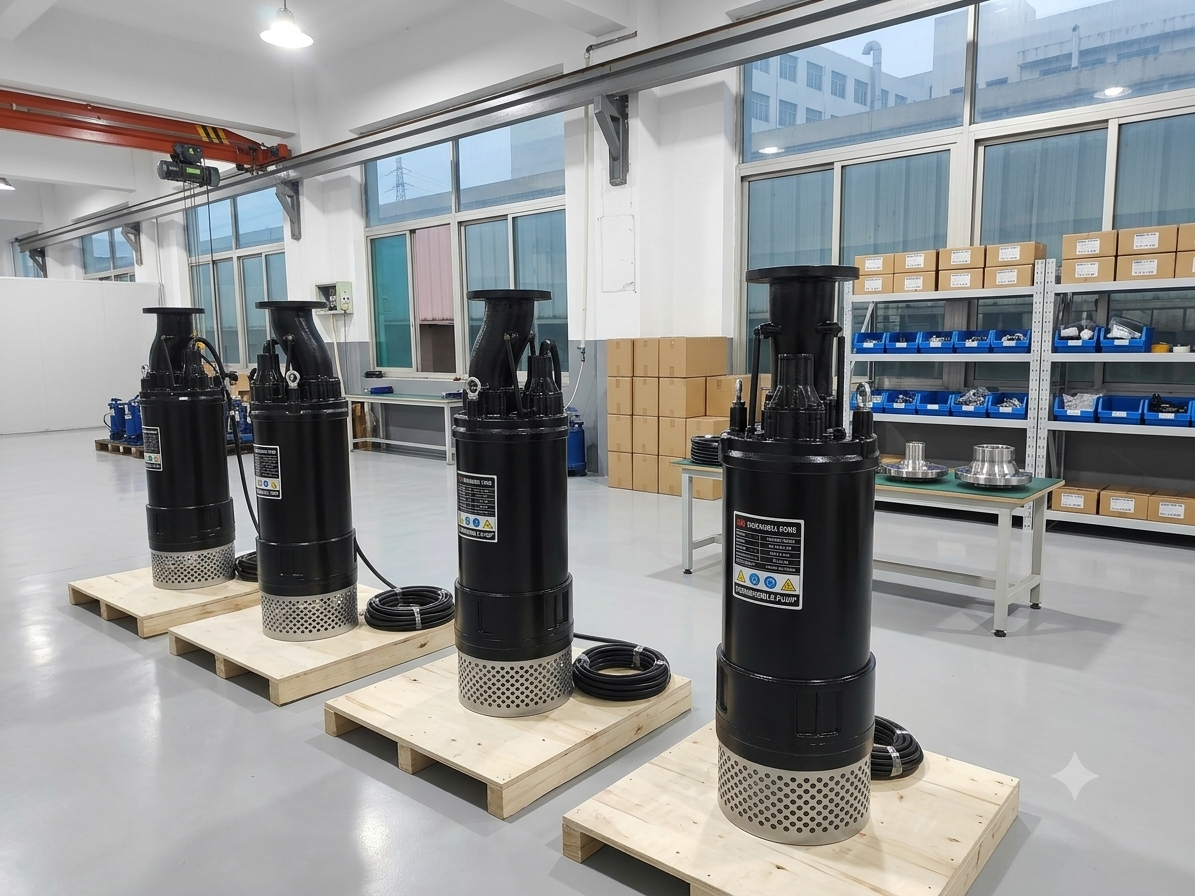
Refer to the labels in the image to match your excavator’s lines:
-
Oil Inlet: Connect this to your excavator’s High-Pressure Outlet. This provides the power to spin the pump.
-
Oil Outlet: Connect this to your excavator’s Return Line. This sends the oil back to the system.
-
Oil Spill Port (Case Drain): This is the most important connection. Connect this line directly to the Hydraulic Oil Tank.

hydraulic submersible slurry pump installation IMPORTANT: This line must have NO backpressure. If you forget to connect this or hook it up wrong, you will blow out the motor seals immediately.
2. Physical Installation
-
Mounting: Align the pump’s top bracket with your excavator’s arm. Insert the pins and lock them in place.
-
Discharge Hose: Attach your heavy-duty discharge pipe to the large bottom flange. Make sure the bolts are tight and the gasket is centered to prevent leaks.
3. First-Time Start-Up Tips
-
The “Spin” Test: Before diving into the mud, “jog” the hydraulics briefly in the air to make sure the pump is spinning in the right direction (follow the arrow on the casing).
-
Submerging: Lower the pump into the water slowly. This lets the air escape so the pump doesn’t “air lock.”
-
Warm Up: Let the hydraulic oil circulate for 3–5 minutes before you start pumping heavy slurry.
⚠️ Maintenance Essentials
-
Check the Case Drain: Always double-check that the “Oil Spill” hose is secure before every shift.
-
Grease Regularly: If your model has external grease points for the bearings, give them a pump every day of use.
-
Don’t Run Dry: Avoid running the pump at high speeds out of the water for long periods; it needs the fluid to stay cool.
Need help? If the flow or pressure settings on your excavator don’t match the pump’s plate, contact us before operating!